FastAPI 开发环境
这篇文章将记录一下在 Windows 系统下搭建 FastAPI 开发环境的过程,包括安装项目管理工具 UV、使用 UV 初始化项目、使用 PyCharm 启动项目等,不包括 Python 的安装。
安装项目管理工具 UV
参考 Standalone installer 部分,在 PowerShell 中输入如下命令安装 UV
1 | powershell -ExecutionPolicy ByPass -c "irm https://astral.sh/uv/install.ps1 | iex" |
这个命令会将 UV 安装在 %USERPROFILE%\.local\bin 目录下,包括 3 个可执行文件:uv.exe、uvw.exe 和 uvx.exe。然后将 %USERPROFILE%\.local\bin 添加到 Path 环境变量中
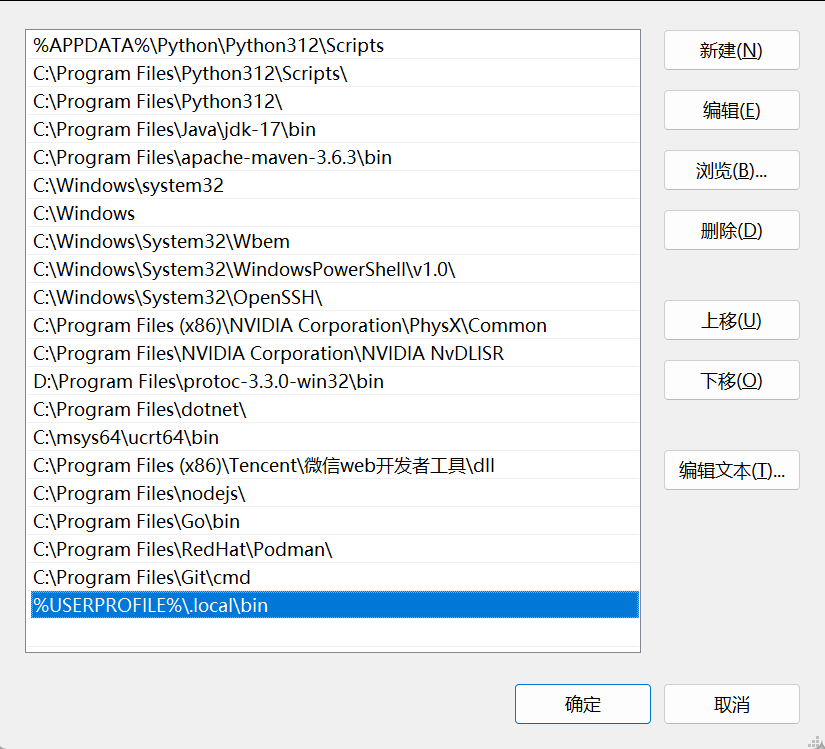
也可以参考使用 PyPI 安装:pip install uv,此时会把 UV 安装到 %APPDATA%\Python\Python312\Scripts 目录下。配置好 Path 环境变量后,就可以使用 uv --version 检查安装是否成功,如果看到如下的输出则说明安装成功
1 | uv 0.9.25 (38fcac0f3 2026-01-13) |
使用 UV 初始化项目
参考 Working on projects 使用如下命令创建并初始化一个项目
1 | mkdir admin-py |
进入项目目录 admin-py 执行 uv add "fastapi[standard]" 命令为项目添加 FastAPI 依赖,如果项目还没有初始化虚拟环境,这条命令会先初始化虚拟环境,然后安装 FastAPI 依赖。可以使用 uv venv 命令提前初始化虚拟环境,再使用 uv add 命令添加依赖。
参考 full-stack-fastapi-template 在项目目录创建应用目录 app,与应用相关的代码都将放在该目录下。依次创建文件 app/__init__.py、app/main.py,最终的文件结构如下:
1 | admin-py |
为 app/main.py 添加如下内容
1 | from fastapi import FastAPI |
运行 .\.venv\Scripts\activate 命令激活虚拟环境后运行 fastapi dev app/main.py 命令启动项目,访问 http://127.0.0.1:8000/,浏览器中可以看到如下输出:{"message": "Hello World!"}。
使用 PyCharm 启动项目
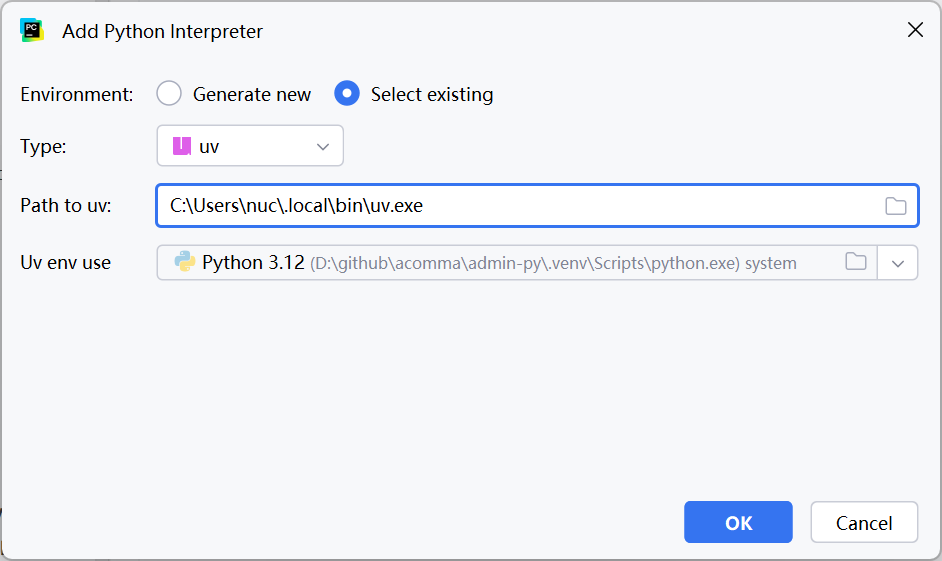
Python 支持使用 pdb 调试程序,但更习惯使用 IDE 进行调试,下面介绍如何使用 PyCharm 启动项目。因为使用了 UV 来管理项目,在 PyCharm 打开 admin-py 项目后可能需要参考 Configure a uv environment 配置 uv 环境,只是要注意 Uv env use 的值应选择 uv run python -c "import sys; print(sys.executable)" 命令输出的 Python 路径,即虚拟环境中的 Python 路径
使用 FastAPI 配置启动项目
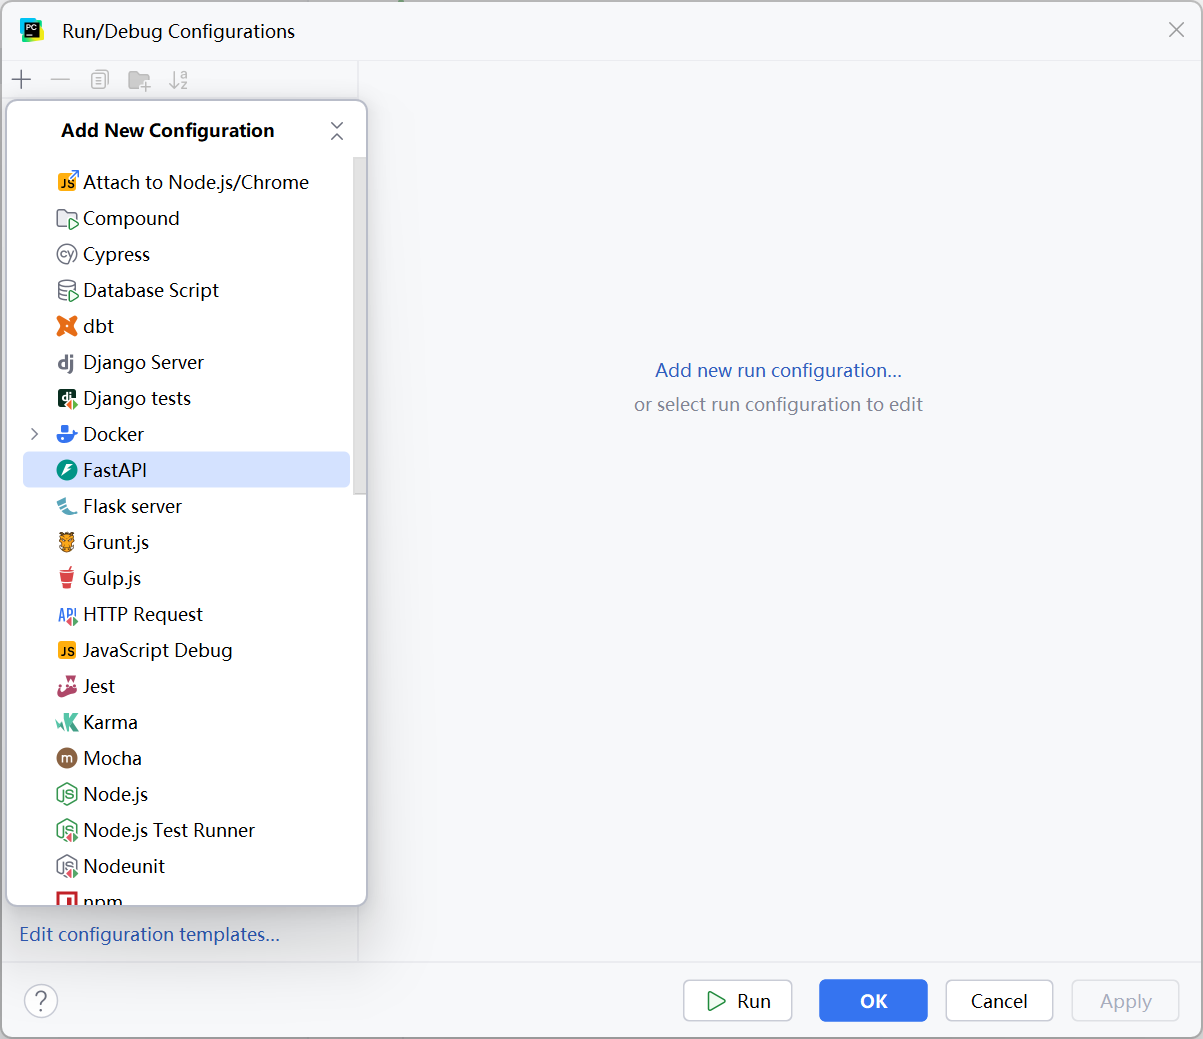
参考 Launch and modify run/debug configurations 新建 FastAPI 运行配置
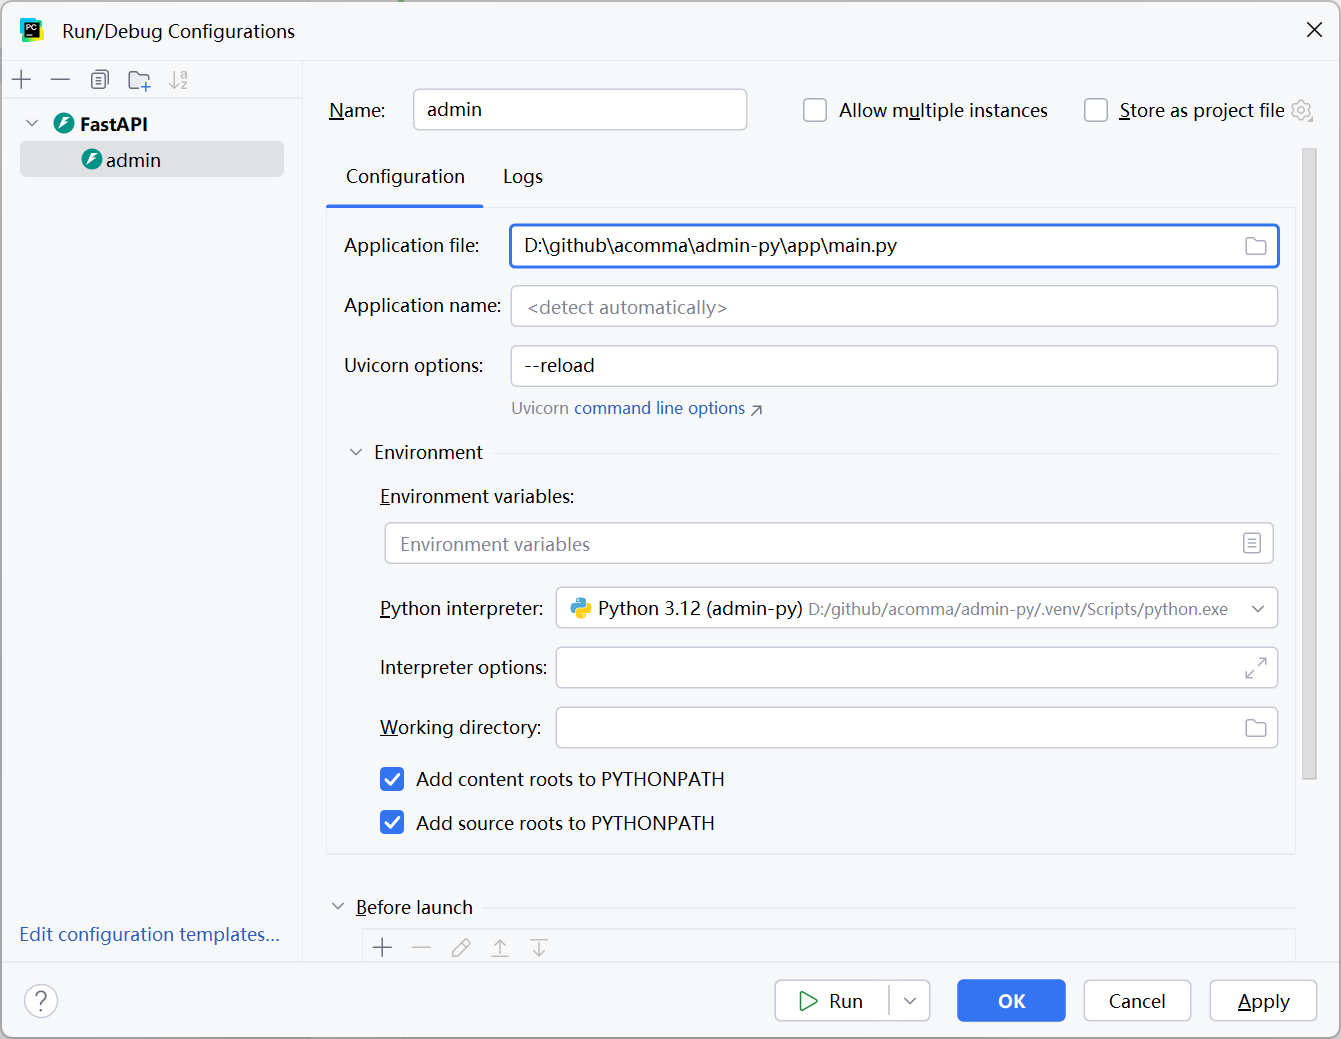
配置时 Application file 选择 app/main.py,Python interpreter 选择 uv run python -c "import sys; print(sys.executable)" 命令输出的 Python 路径
把启动命令简化为 python -m uvicorn app.main:app --reload,这个命令可以直接在命令行中启动项目。
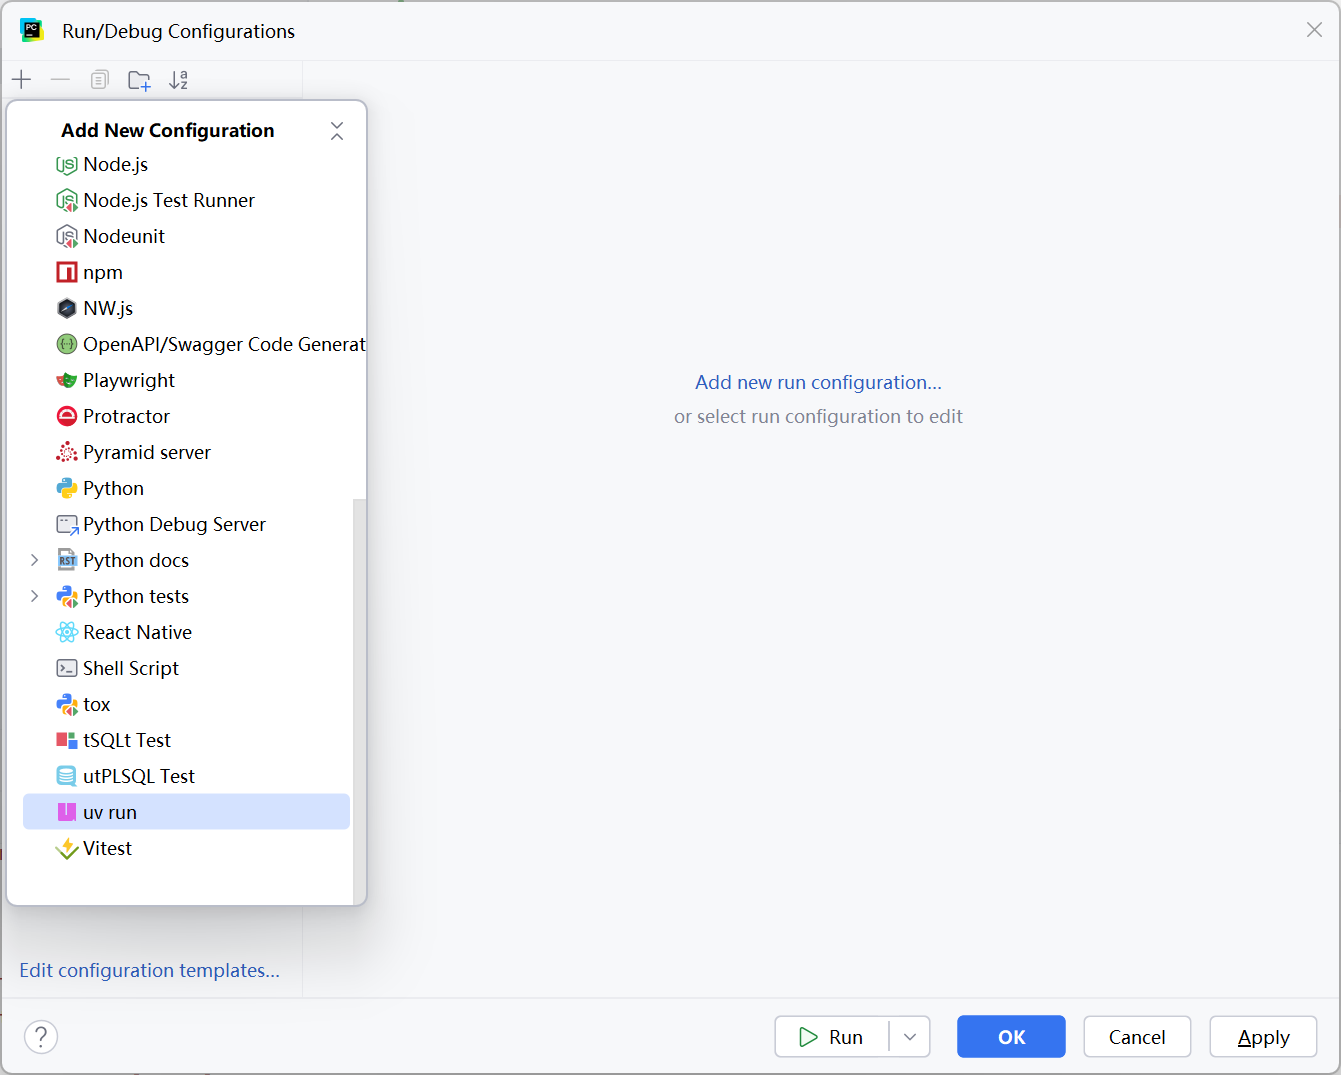
使用 uv run 配置启动项目
参考 Run/Debug Configuration: uv run 和 pycharm configurations中配置运行fastapi项目新建 uv run 配置
配置时 Run 选择 Module;因为 FastAPI 使用 Uvicorn 应用程序的服务器,因此 Module 输入 uvicorn;解释器选择 uv run python -c "import sys; print(sys.executable)" 命令输出的 Python 路径
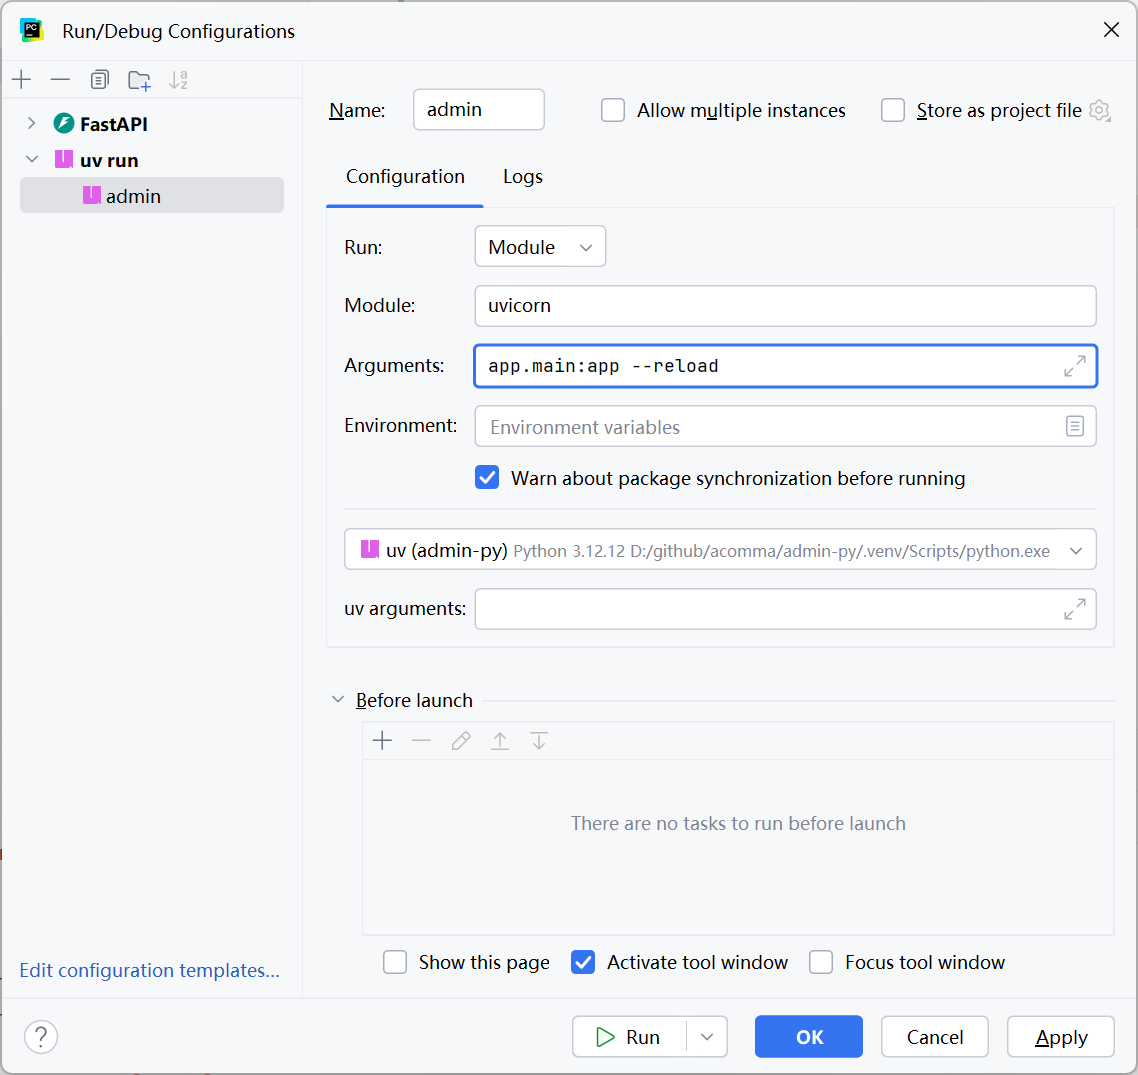
把启动命令简化为 uv run --module uvicorn app.main:app --reload,或者等价的 uv run uvicorn app.main:app --reload,下面是 QWen 的对比结果

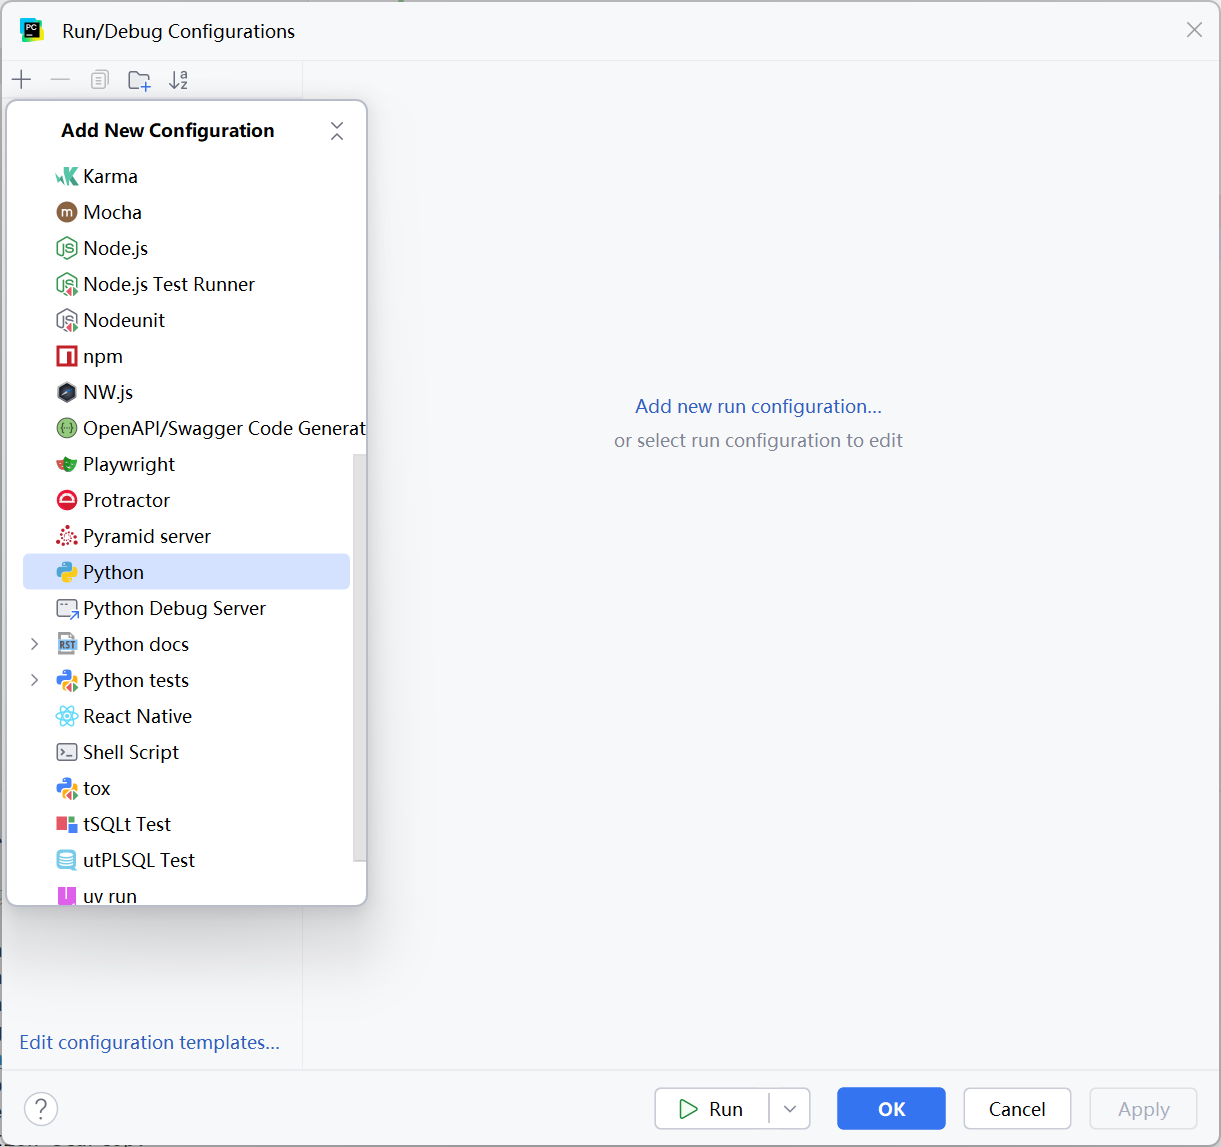
使用 Python 配置启动项目
参考 Run/Debug Configuration: Python 新建 Python 配置
配置时解释器选择 uv run python -c "import sys; print(sys.executable)" 命令输出的 Python 路径,选择 module,输入 uvicorn,Working directory 选择项目 admin-py 所在的目录
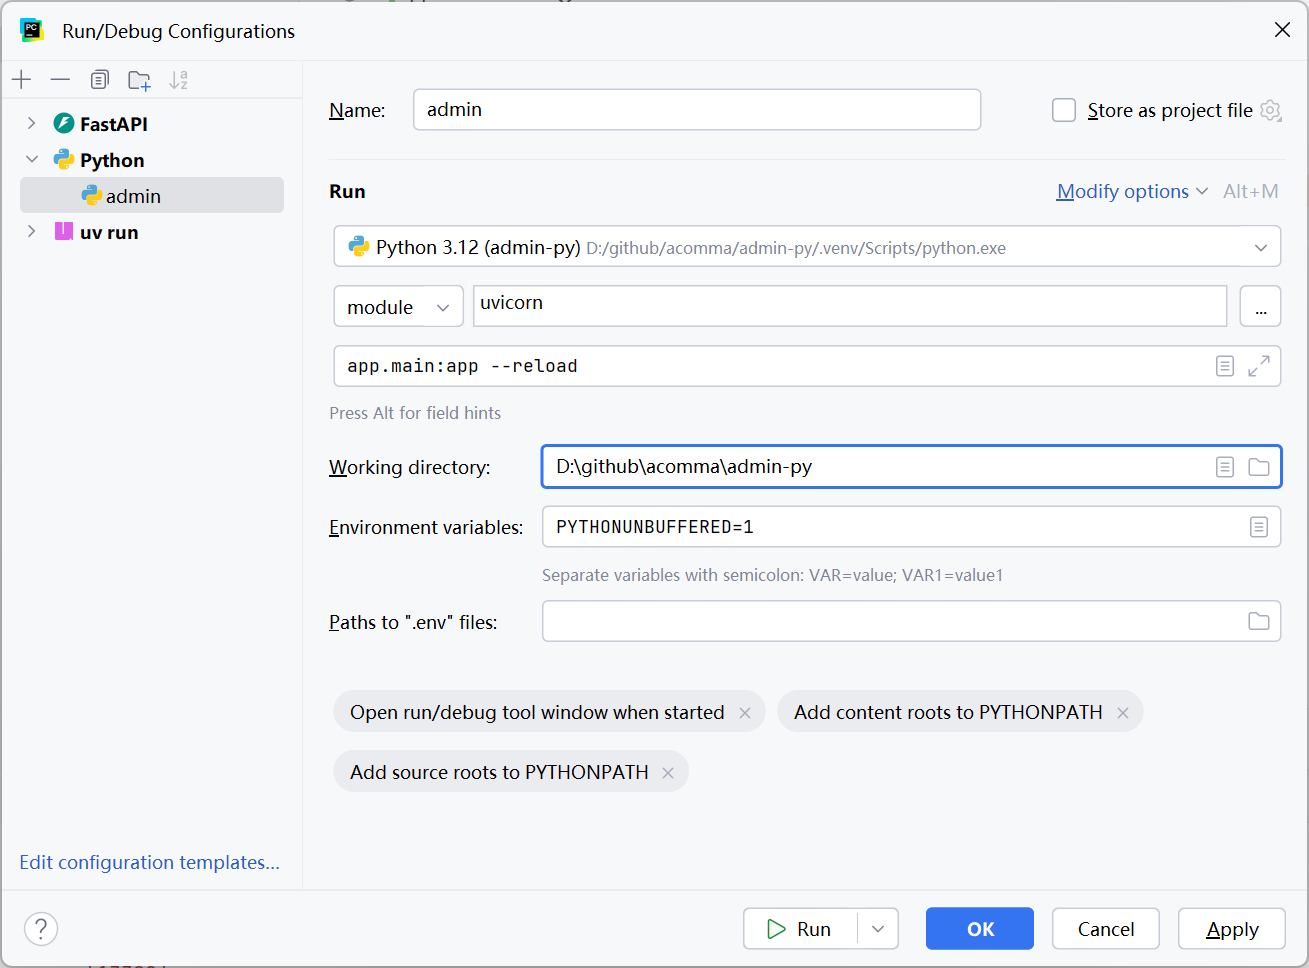
把启动命令简化为 python -m uvicorn app.main:app --reload,结果和使用 FastAPI 配置启动项目相同。
构建 Docker 镜像
参考 .dockerignore example for Python projects 创建 .dockerignore 文件
1 | README.md |
参考 Using uv in Docker、FastAPI in Containers - Docker 创建 Dockerfile 文件
1 | # 基础镜像 |
安装 uv 时使用 docker.io 而不是 ghcr.io,注意用户名不一样,其他都一样。
遇到的问题
UV 缓存目录问题
在运行 uv add "fastapi[standard]" 命令时,可能会看到如下的警告
1 | warning: Failed to hardlink files; falling back to full copy. This may lead to degraded performance. |
这是因为 UV 缓存目录和项目目录不在同一个文件系统,因此无法使用硬链接进行缓存。通过 uv cache dir 查看当前的缓存目录为 C:\Users\nuc\AppData\Local\uv\cache,而我们的项目目录为 D:\Projects\admin-py,因此无法使用硬链接进行缓存。这个问题除了参考警告中的方法解决还可以参考 Failed to hardlink files: Issue with ruff cache 来解决,在系统环境变量中新增 UV_CACHE_DIR,值为你项目所在的磁盘,比如 D:\AppData\Local\uv\cache 或者其他目录。